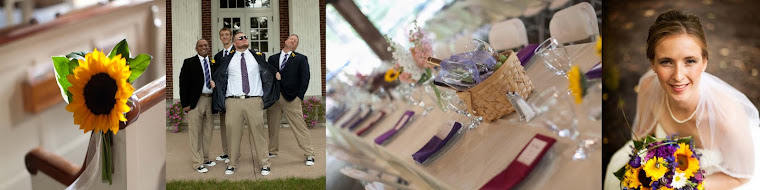

Mike and I wearing our "formal wear"
*I do realize that not everyone has a degree in art or a knack for painting but with these steps I bet you could do a lot more than you think by keeping things simple and sticking to basic shapes and colors.
Supplies
Pen
Scissors
Iron
Paint brushes
Water
Puff paint
Reynolds' freezer paper


Plan out what you want the stencil to look like and then carefully cut it out. For this technique you need to keep it simple, so don't try to cut out a very complicated design.


Lay the stencil on the garment you want to paint shinny side down. Once the stencil is exactly where you want it use a hot dry iron to adhere the stencil to the garment.

Paint in your design using watered down puff paint. I use puff paint because it is a cheap paint that works on cloth, but I like to thin it with water to make it more like an acrylic.

Once the paint dries peel away the stencil to reveal a clean crisp line much like a screen print.
One of the down falls of this method is the stencils are only a one time use :-(
I used this method to make fun party wear but you could use this for team tees, bachelorettes, kids birthday parties, etc.
No comments:
Post a Comment